
Last updated November 17, 2026
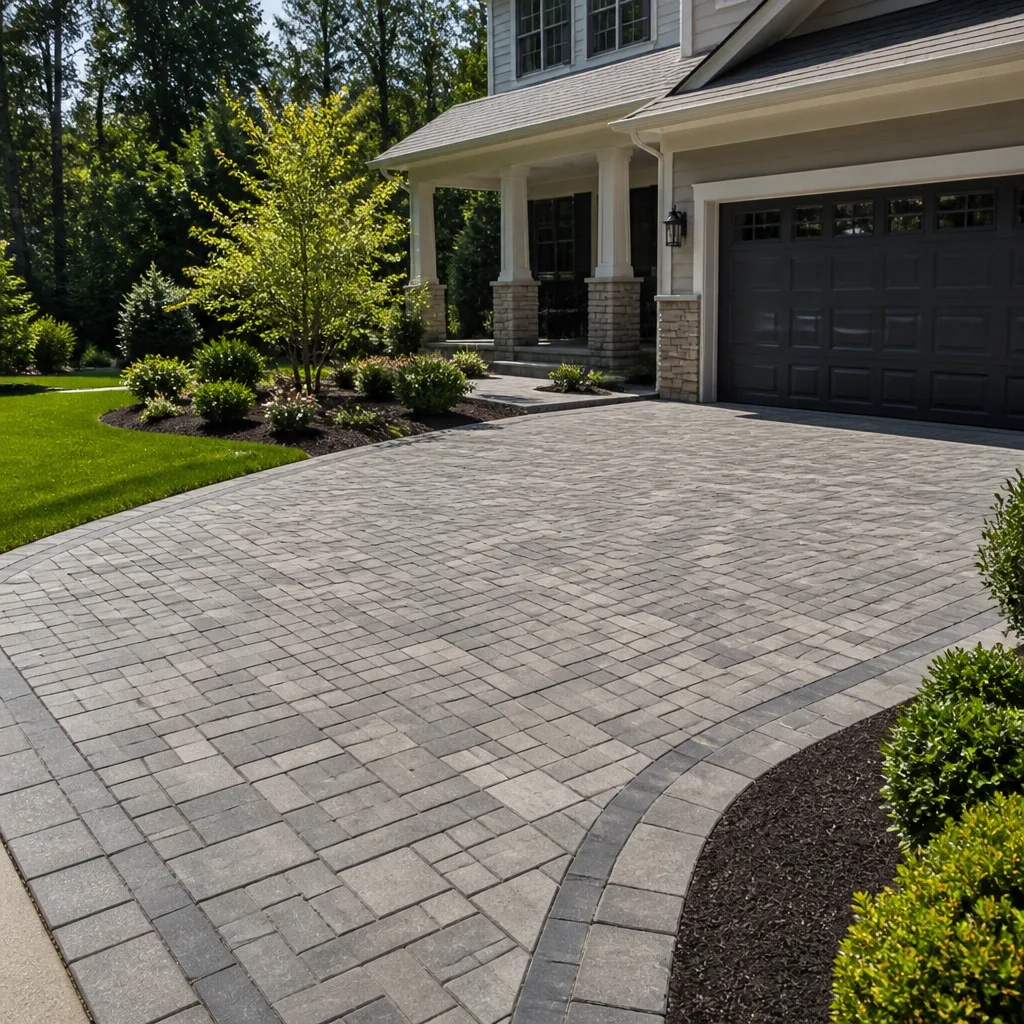 Driveway & pavers
 Kitchen remodeling
 Bathroom remodeling
 Home additions & ADU
 Roofing
 Windows & doors
 Fence
Free written scope consultation - allowances, timeline, and change-order rules on paper before a single trade is scheduled
Driveway & Pavers Troubleshooting in West Covina: Common Problems and How to Fix Them
If your pavers are sinking in the same spot every year, re-leveling them is a waste of money. The real fix costs about the same and starts two feet deeper, in the base that failed the first time. Almost every driveway problem we get called about in West Covina looks like a surface issue and turns out to be a foundation issue: sunken sections are usually a compaction or drainage failure, not a bad paver, and white staining is usually mineral bleed, not damage. This guide shows you how to diagnose the cause before you spend anything, so the repair you pay for is the one that actually holds. We’ve walked plenty of West Covina driveways where the visible symptom pointed one direction and the real problem sat somewhere else entirely.
Quick Answer
Most sunken, cracked, or stained driveways in West Covina come down to one of four root causes: a base that wasn’t compacted properly, water draining toward the pavers instead of away, missing or failed edge restraint, or roots and soil movement under the field. Diagnosing which one you have is the whole job. Re-leveling without fixing the base or the drainage just buys you another year of the same problem, while a repair that goes to the source – excavation, re-compaction, correct drainage, proper edge restraint – holds for the long run. The pavers themselves are rarely the failing part.
Styles & brands we work with
- Kitchen remodeling
- Bathroom remodeling
- Home additions & ADU
- Roofing
- Windows & doors
- Driveway & pavers
- Fence
Table of Contents
- Settlement vs. Erosion: How to Tell Which One You Have
- Reading Your Stains: Efflorescence, Oil, and Organic Growth
- Why Edge Pavers Fail First
- Can That Sunken Section Be Re-Leveled or Does It Need Excavation?
- When the Pavers Are Actually a Tree-Root Problem
- Cracks, Heaves, and What Your Pavers Are Telling You
- Drainage in West Covina: Grading, Runoff, and the Dry Season
- Choosing Paver Materials That Suit This Climate
Settlement vs. Erosion: How to Tell Which One You Have
Settlement and erosion look similar from standing height and get treated as the same problem, which is why so many repairs fail. They have different causes, different telltales, and completely different repair approaches. Getting this one diagnosis right saves you from paying twice.
Settlement is the ground under the driveway giving way. The soil underneath the base wasn’t compacted in lifts, or it was compacted while wet, or the base aggregate was too thin. Over time, traffic and moisture work the loose material down and the pavers drop with it. The classic signature: a smooth, gradual dip that’s fairly even across a section, sometimes with a hairline crack where the slab or paver field flexed. The pavers stay interlocked. The joints hold. The whole field just rides down.
Erosion is water carrying material out from under the edge or through a joint. Improper grading, a downspout aimed at the driveway, or a missing edge restraint lets runoff wash out the bedding sand and fines. The signature here is different: a ragged, uneven depression that starts at an edge or a low corner, exposed sand joints, a lip where pavers have dropped away from their neighbors, and often a visible washout line pointing to the water source.
Here’s how to sort it out:
- Look at the shape of the dip. Smooth and gradual? Suspect settlement. Ragged and edge-driven? Suspect erosion.
- Check the edges first. Erosion almost always announces itself at the perimeter before it gets to the middle.
- Look for a water source. A downspout, a slope from the neighbor’s yard, or a slope in the drive that pushes water into a low corner is a strong erosion signal.
- Probe the joints. If sand in the joints has washed down and stays gone after a refill, water is moving through the pavement.
- Note the timing. Settlement tends to progress slowly and evenly. Erosion can open up quickly after a good storm.
The repair path is different for each. Settlement usually requires removing the affected pavers, excavating down to compacted subgrade, adding base in shallow lifts, and re-compacting before the pavers go back. Erosion requires fixing the water first – regrading, redirecting downspouts, restoring the edge restraint – then rebuilding the base under the washed-out zone. Repairing erosion like settlement, or vice versa, is the most common reason a driveway repair in West Covina doesn’t last.
Reading Your Stains: Efflorescence, Oil, and Organic Growth
Staining is where a lot of homeowners damage their own pavers by attacking the wrong problem with the wrong cleaner. Three stains look alike from a distance and need completely different treatment. Get the diagnosis right before you touch a brush.
Efflorescence is white mineral bleed. Water moves through the concrete or the pavers, picks up soluble salts, and pushes them to the surface where they dry as a powdery white haze. It’s most common on newer installations and often worse after a wet season, which is why a rainy stretch in West Covina is when it shows up. The tell: it’s white, powdery, sometimes blooms in patches that follow the joint pattern, and it usually washes off a small test spot with plain water. Efflorescence is cosmetic. It’s not evidence of a failing paver.
Oil and grease are dark, concentrated, and localized. Usually right where the car parks, under a drip point, or in the line a car follows into the drive. These stains soak into the paver’s surface, and a simple rinse just spreads them. They need a proper degreaser, dwell time, and often a poultice to pull the oil out of the pores.
Organic growth – algae, mildew, and moss – is usually green, black, or a dark gray film, and it loves the shaded corner of a driveway, the north side of the house, or the low spot where water lingers. It’s a moisture story, and it’ll come back until the drainage is sorted. A surface cleaner knocks it down. Fixing the water problem is what keeps it from returning.
One caution that saves a lot of grief: high-pressure washing too aggressively on pavers blasts out the joint sand and can erode the surface over time. When in doubt, test a hidden spot first.
Why Edge Pavers Fail First
The edge of the driveway is the part taking the most abuse and it fails first. That’s not bad luck, it’s physics. The edge of a paved field has no lateral support on the outer side unless something is holding it. Every time a car drives in, the load pushes outward against that edge. Without a restraint, the pavers creep. Once they start moving, the joints open, water gets in, and the whole field starts to unravel from the perimeter inward.
Two things prevent that, and both are often skipped on cheap installs:
- A concrete soldier course. A row of pavers set in concrete along the edge, oriented perpendicular to the field, acting as the structural bumper. It’s a small cost line. It’s the difference between a driveway that lasts and one that fans out at the curb within a few years.
- Steel or aluminum edging, properly spiked. A continuous edge restraint anchored into compacted base with spikes, holding the bedding sand and the pavers in compression. If the edging is absent, undersized, or just resting on loose soil, it fails in the first season or two.
Walk your own driveway and look at the outermost row. If pavers are spreading apart, tilting outward, or you can see the sand bedding exposed at the edge, the restraint has probably given up or never existed. That’s a perimeter repair first and a field repair second. Re-laying the middle while the edges are still moving is money thrown away, because the field will just creep outward again.
If the repair involves re-laying a larger section, that’s a good moment to look at the broader scope. Pavers, fencing, and the grading around the driveway all interact at the curb. Driveway & pavers work done alongside a fence replacement often catches drainage problems that the driveway alone would miss.
Can That Sunken Section Be Re-Leveled or Does It Need Excavation?
Not every sunken section needs a tear-out, and not every dip can be fixed with a top-dressing. Here’s the field test we use to decide, and you can run it yourself before calling anyone. The simplest version: if the dip is small, the edges are solid, the base isn’t washing out, and the pavers are still interlocked, you’re a candidate for a targeted lift. If water is still entering, or the base is soft underfoot, it’s an excavation.
Work through it in order:
- Measure the dip. A dip under about a quarter inch across a joint is normal settlement. A dip over half an inch or a pronounced berm is a repair. Anything over an inch is usually a base failure, not a surface issue.
- Check for movement underfoot. Press down hard on a paver in the middle of the dip. If it rocks or feels spongy, the bedding is compromised. That won’t top-dress away.
- Look for a water path. If you can trace how water is getting under the field, the top-dressing approach will fail. Fix the water path first, or the repair won’t hold through the next wet season.
- Check the edges. If the edges have spread, re-leveling the middle is pointless. Restore the restraint before the field.
- Confirm the subgrade. A base topping only works if the subgrade under it is solid and compacted. On soft subgrade, the lift just sinks again.
If all five checks pass, a lift is realistic – the affected pavers are removed, the bedding is corrected, base is added in thin lifts, compacted, and the pavers go back. If any check fails, excavation is the honest answer. Excavation means removing the affected area, digging down to compacted native soil, rebuilding the base in lifts, and setting the pavers to the correct finish grade. Doing this properly is more work than a lift. It is also the only path that stops the dip from reopening.
When the Pavers Are Actually a Tree-Root Problem
Tree roots cause paver failures that look like settlement and aren’t. A root moving under a driveway pushes the surface up locally, then the soil compaction under the pushed-up zone gives way as the root grows, so the field goes from a rise to a dip over years. Homeowners see a dip and assume base failure. It’s a root problem. And by the time the surface shows it, the root has usually done real damage under a large area.
Signs you’re looking at roots and not compaction:
- A rise followed by a dip, in line with a nearby tree. If the hump and the depression follow the same line toward a mature tree, that’s the root running under the field.
- Lateral heave at the edge closest to the tree. The field lifts on the tree side and drops on the far side.
- Cracked or displaced edge pavers on one side. Roots push the edge first, and the edge is the first thing you see lose.
- Seasonal change. A dip that opens in summer when the soil dries and shrinks, then partially closes after rain, is a classic sign of root-and-soil interaction.
- Visible roots at the surface at the edge of the field, or under a fence line that backs onto the drive.
If you can see the root signature, the repair is not a paver repair. It’s a root-management decision – a root barrier, a replacement tree choice, or a re-route of the root zone – followed by a driveway rebuild. Doing the rebuild without addressing the root is the most expensive way to repeat the same problem. That’s why the first site visit matters more than the estimate. By the time a root issue has compromised roughly a third of the field, you’re looking at a re-build of the affected area, not a spot repair.
Cracks, Heaves, and What Your Pavers Are Telling You
Pavers themselves don’t typically crack. Concrete slabs do. If you’re seeing cracks, the more likely culprit is a failed base, ponding water underneath, or a slab that’s moving independently of the pavers next to it. Here’s how to read which:
- A single straight crack across a section is often a control joint doing its job, or a slab that’s been undermined on one side. Check for a low spot or water path at that line.
- A crack with a vertical step – one side higher than the other – almost always means base movement or root heave. That’s a structural issue, not cosmetic.
- A spiderweb pattern of small cracks usually points to a base that deflected under load, or pavers that were installed too thin over soft subgrade.
- A crack following an old crack line, reopening after repair means the original cause wasn’t fixed. The crack is the visible symptom of the same drainage or base issue.
- Heave in the middle of a section is almost always a root or a subbase that’s swelling. Common on old concrete under a paver overlay that should have been removed.
The rule of thumb: cracks are a symptom, not a cause. Repairing the crack without finding what’s moving underneath is throwing money at the surface. If you decide to move to a full re-install rather than spot repairs, we recommend getting the concrete, grading, and drainage right the first time. Our broader Construction West Covina work covers the full exterior of the home, which means the driveway doesn’t have to be sorted in isolation.
Drainage in West Covina: Grading, Runoff, and the Dry Season
West Covina sits in a climate of dry summers and wet winters. That pattern produces two phases of paver stress every year, and both get misread as “the pavers are old.” In the dry months, clay-heavy soil shrinks and cracks, and the base can lose contact with the pavers. In the wet months, the same soil swells, and water that should be draining away instead pools in the driveway and beneath it. Pavers that looked flat in August can dip noticeably by February.
Grading is the first line of defense. A driveway should slope away from the house and toward a proper drainage path, usually at a fall of about two percent, so water never sits on the surface or backs toward the garage. If your drive holds a puddle in the low corner after a storm, the grading is telling you something. Correcting that slope during a driveway rebuild is cheap. Opening up the finished driveway later to correct it is expensive.
Runoff from above matters too. Downspouts that empty onto the driveway, a neighbor’s higher grade, and gutters that overflow in a heavy storm all send water at the paver surface. Redirecting the downspouts, extending them past the pavement, and checking that gutters are clear costs little and prevents the kind of erosion that digs out a base. In our experience, more West Covina driveway failures are traced back to water management than to the pavers themselves.
One practical note: drainage work often overlaps with the fence line and the roof. A fence that’s holding back soil, or a downspout that backs up because the roof drains are clogged, can both feed the same problem. Fence installation work and a driveway rebuild planned together often catch these overlaps before they cause another failure.
Choosing Paver Materials That Suit This Climate
Once the base, the drainage, and the edges are right, the material decision actually matters. The wrong material on a good base is still a good driveway. The right material on a bad base is still a bad driveway. So material selection comes after diagnosis, not before.
For West Covina’s dry-then-wet cycle, we recommend pavers that handle repeated wet-dry movement without surface spalling. Colors that hide efflorescence haze age better on a west-facing drive. Textured finishes help with traction on a slope. The premium manufacturer options – Belgard, Unilock, Techo-Bloc, Cambridge Pavers, Tremron – offer looks that range from traditional running bond to large-format modern, all of them built to work with the right base and edge detail. Base aggregates are equally important; materials from a supplier like Sakrete give you a repeatable mix for bedding and setting courses, so the base performance isn’t guesswork.
Sealant timing is the other half of material performance. A penetrating sealer applied too early traps moisture in new pavers and locks in efflorescence. Applied too late, it can’t protect the surface from the first wet season. We recommend waiting until the pavers have fully cured and the surface is dry, then sealing with a breathable product. If the surface does show efflorescence, the sealer isn’t the fix – the mineral bleed has to be addressed first.
Common Mistakes to Avoid
- Re-leveling a sunken section without touching the base. This is the single biggest waste of money in driveway repair. A top-dressing over a failed base has the same outcome every time: it dips again. If movement underfoot is present, the base comes out.
- Replacing only the pavers on the sunken area. New pavers installed over old bedding fail at the edges of the repair, because the old base and the new base move at different rates. Rebuild the whole affected zone, not just the visible dip.
- Power-washing efflorescence off and calling it solved. The white haze comes back until the moisture path into the pavers is addressed. The stain is a symptom, not the problem.
- Skipping the edge restraint to save cost. A driveway without a proper soldier course or anchored edging spreads from the outside in. The edge is the cheapest part to do right and the most expensive part to repair later.
- Sealing pavers too soon after install. Sealing before the pavers have cured traps moisture and locks in mineral haze. Wait for the right conditions, then apply a breathable sealer.
- Planting a mature tree close to the driveway edge without a root barrier. Roots are patient, and a driveway that fails from root heave usually has to be rebuilt over the same area twice.
- Fixing the driveway before fixing the water. If the downspout, grading, or slope that caused the failure isn’t addressed first, the next repair starts with the same problem.
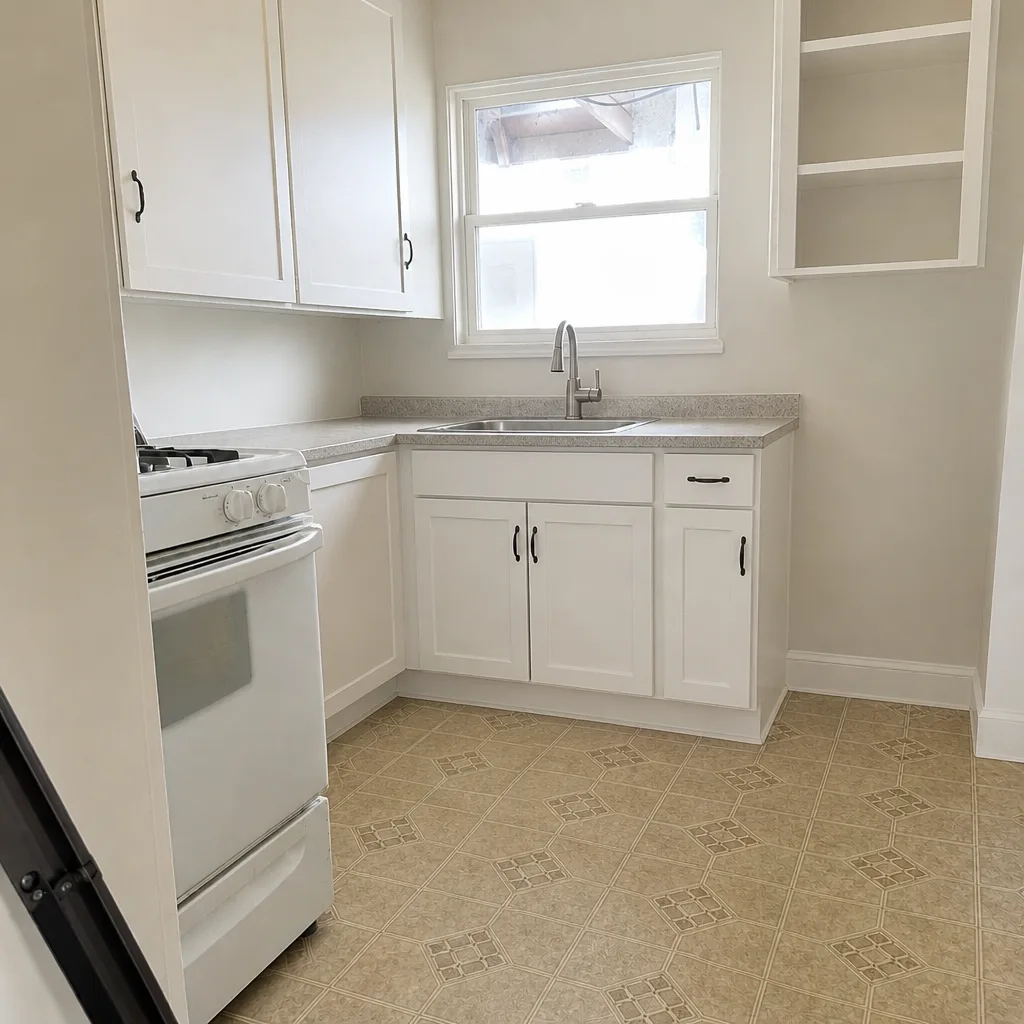
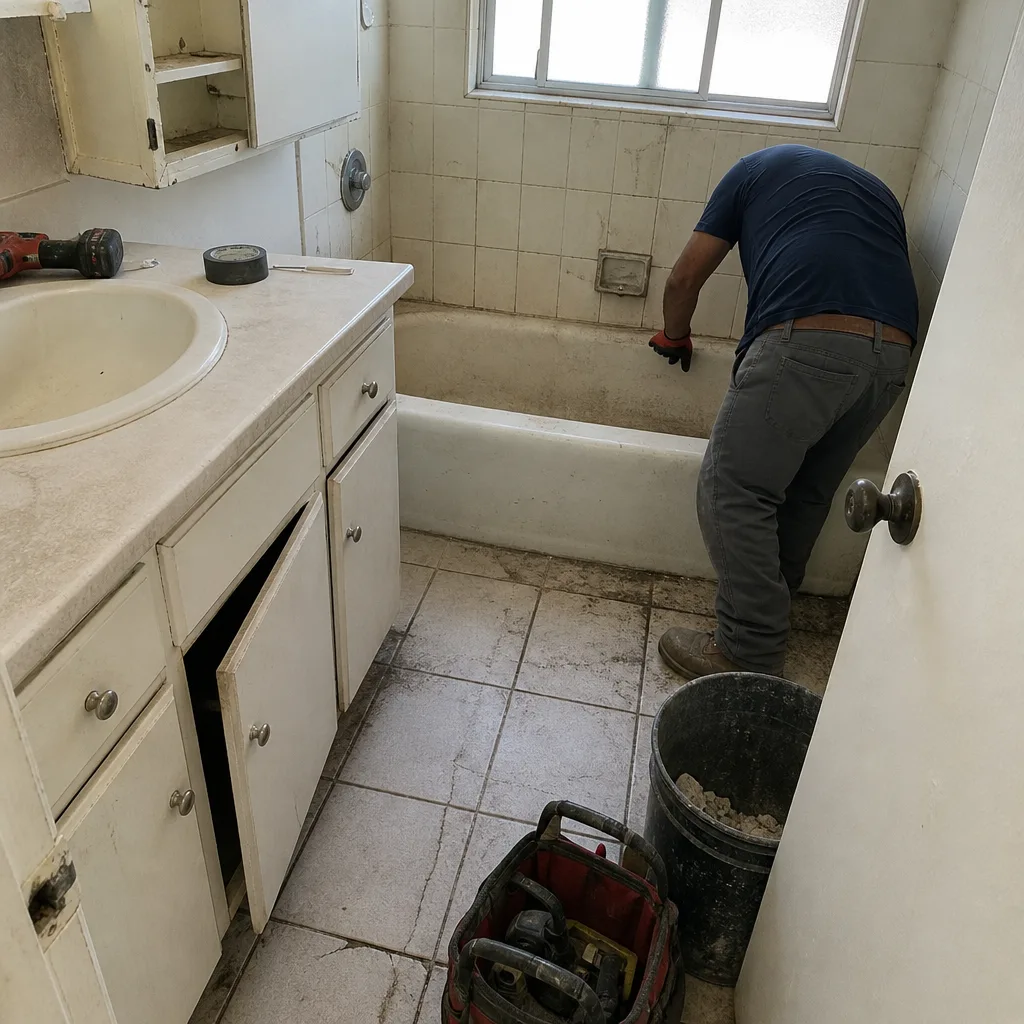
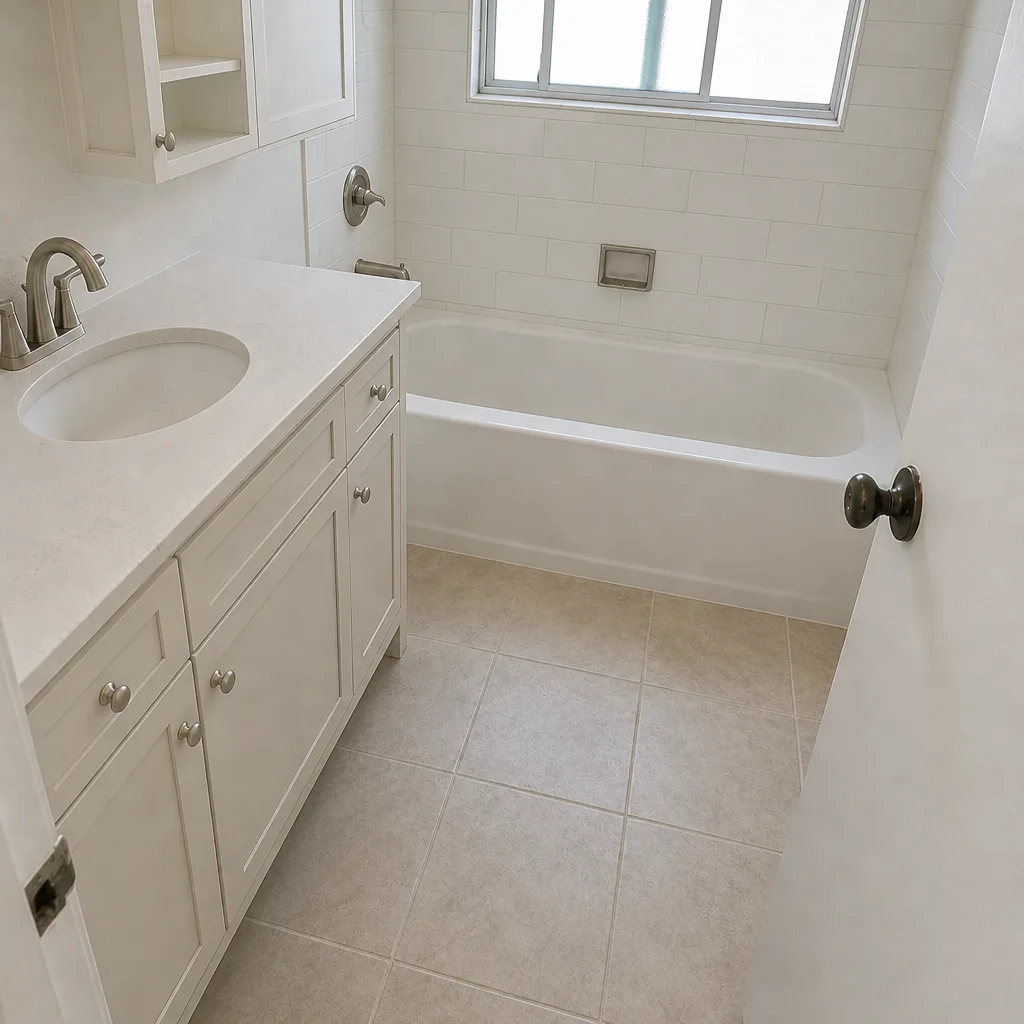
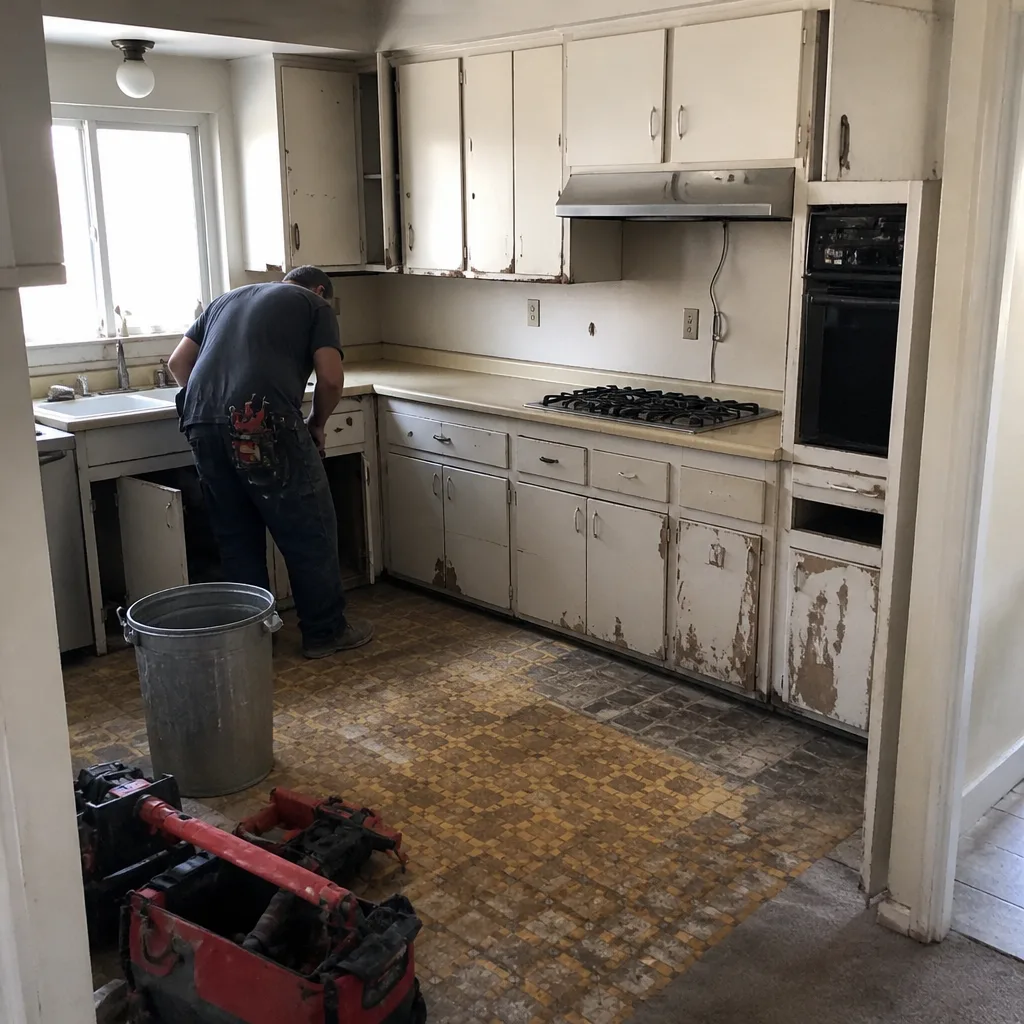
See the difference
 Before
 After
 Before
 After
 Before
 After
When to Call a Professional
Some driveway problems are a weekend project. Others aren’t. Call us when any of these is true: the dip is over half an inch and progressing, pavers rock underfoot, edges have spread or tilted, water pools in a corner after a storm, a crack has opened with a vertical step, or roots are pushing the surface from below. Those are all signs the base or the drainage is failing, and a trained eye saves you from repairing the wrong layer.
Construction West Covina offers free estimates in West Covina. Call (844) 320-3099. We answer 24/7. Fast dispatch from 7am to 7pm, Sunday through Friday. We’ll walk the driveway with you, show you where the movement is coming from, and give you a written line-item quote with fixed pricing and no change orders, so the number you see is the number you pay. Permits are pulled and inspections passed where they apply. Our technicians have up to 10 years of experience, and the work comes with a workmanship warranty.
Frequently Asked Questions
Paver repair in West Covina is typically priced per job by the estimate, because the cost depends entirely on whether the base has failed or only the surface has moved. A targeted repair where the base is sound costs less than an excavation and rebuild, and a perimeter repair with a new edge restraint costs different again. The written estimate sets the final price, and the estimate is free. Call (844) 320-3099 for an exact quote – estimates are free.
Pavers that sink repeatedly in one place have a base problem, not a paver problem. Either the base wasn’t compacted in proper lifts, or water is still reaching the base and washing material out. Re-leveling the surface without addressing the base or the drainage will produce the same dip again. A proper repair starts two feet deeper, at the compacted subgrade.
No. New pavers need to cure fully and the surface needs to be dry before a penetrating sealer goes on. Sealing too early traps moisture in the pavers and can lock in efflorescence. We recommend waiting until the pavers have fully cured, then applying a breathable sealer that lets moisture escape.
That’s almost certainly efflorescence – mineral salts pushed to the surface by water moving through the pavers and drying. It’s cosmetic, not structural, and it’s common on newer driveways and after a wet season. It washes off a test spot with plain water. If it keeps returning, there’s a moisture path feeding it that should be addressed. Call (844) 320-3099 and we can take a look.
Yes. A mature tree with roots running under the driveway pushes the field up locally as it grows, then the soil compacted around the root gives way and the field drops. The surface shows a hump then a dip, aligned with the tree. By the time the surface shows visible damage the root has often affected a wide area, so a root-management plan should come before the driveway is rebuilt.
Permit requirements vary depending on scope – a spot repair usually doesn’t require one, while a full replacement or a change to the curb or drainage often does. The safest answer is to ask the City of West Covina building department about your specific scope before work starts. When permits apply to a project we handle, we pull them and pass the inspections as part of the job.
The Bottom Line
Every driveway in West Covina tells you what’s wrong with it, if you read it in the right order. Settlement is smooth and central; erosion is ragged and edge-driven. Efflorescence is white and powdery; oil is dark and localized; organic growth is a moisture problem, not a cleaning problem. Edges fail first because they carry the most load without lateral restraint. Roots masquerade as settlement until the field is halfway gone. Diagnose the cause before you spend, and the repair you pay for is the one that lasts. When the base or the water is the problem, that’s a professional repair. When it’s a cosmetic stain, it often isn’t.
Call (844) 320-3099 for a free estimate. We answer 24/7. Fast dispatch from 7am to 7pm, Sunday through Friday. One contractor from the curb to the kitchen: driveways and pavers, fence installation, windows and doors, roofing, and home additions & ADU work all under one roof, with a written line-item quote and fixed pricing before the first paver moves. Choose your material from Belgard, Unilock, Techo-Bloc, Cambridge Pavers, and Tremron, and we’ll make it work for your home’s grade, drainage, and layout.
Written by the team at Construction West Covina.